For those of you who've seen last weeks sneak-peak or if you follow me on facebook and/or Instagram might know that I'm working on a diorama of the crashed star destroyer on Jakku from 'Star Wars: The Force Awakens'.
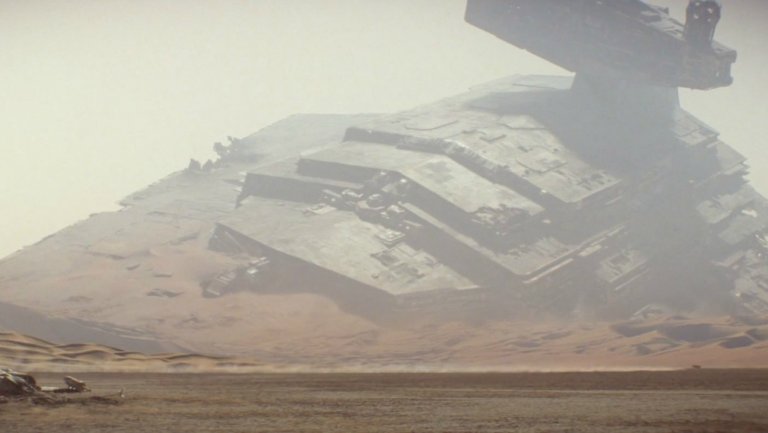 |
| An image released before the theater release of Star Wars 7 |

I ended up with the Bandai Star Wars Vehicle model 001. Apparently, in Japan where these are sold, they are super cheap! (about $4 or so) I found some on eBay, ranging $5-10 excl. shipping and ordered one from the eBay trader hobby_japan. It arrived about a week later, well before I expected to receive it.
Now, Bandai is famous for their Gundam mech suit kits. They also released a very detailed Star Wars line, rivaling much pricier brands like Fine Molds and alike and I wrote an article about their 1:72 T-65 X-Wing fighter. Near the end of 2016 they started releasing these smaller-scaled miniatures more accessible for children, budget-wise and skill-wise. The box doesn't mention a scale but I calculated it to be around 1:14500.
Okay, enough talk, let's take a closer look!

The box is about 8x15cm, small enough to hold in your hand. But good things come in small packages so let's open it up!

Rather than adding a booklet with instructions, Bandai printed the instructions for building the Star Destroyer on the inside of the box and another thing I noticed is that instead of just having the instructions in Japanese they also added English translations.


Inside the box, we find five sprues numbered A1 through A4 and BM1. On A1 you will find the engine of the Star Destroyer along with the hangar and most of the bridge. On A2 you will find the dorsal half of the hull. On A3 you will find the superstructure, the details for inside the trench and the thrusters from the engines. Sprue A4 holds the ventral half of the hull and the sensor spheres/shield generators. BM1 is the stand.
 |
| A closer look at sprue A1 |
 |
| A closer look at sprue A2 |
 |
| A closer look at sprue A3 |
 |
| A closer look at sprue A3 |
 |
| A closer look at sprue BM1 |
ATTENTION!
The only place where you really need to pay attention is when you are placing the trench details. If you don't attach them correctly to the dorsal half of the hull, you won't be able to put the dorsal and ventral half together without making some small modifications. Guess how this dumbass found out...
 |
| Placing the trench details on the hull |
 |
| Here you can see the size difference. Details are hard to see due to the bare plastic. |
 |
| Comparing this with the picture below makes it obvious that the details on the superstructure and bridge are far superior. |
 |
| While being a bigger scale model, the details are just simple, geometrical shapes on the Revell model. |
 |
| Also, the sensor globe/shield generator, while just being a sphere on the Revell model, has little details on it on the Bandai kit. |
 |
| One of the few parts where I have to give a point to Revell. The reactor core/fuel cell (the semi-sphere) is more detailed and looks more to scale on Revell's kit. |
 |
| The finished result! |
 |
| The model is about 11cm long |
TO THE BANDSANDER!!!
Hehe... See you all next time!
No comments:
Post a Comment