I'm sorry my articles are not as frequent as they used to be. I just had a lot of stuff going on in my life (moving house and even worse, having to move my hobby stuff!!) that took a lot of my spare time that I would otherwise had used to write this.
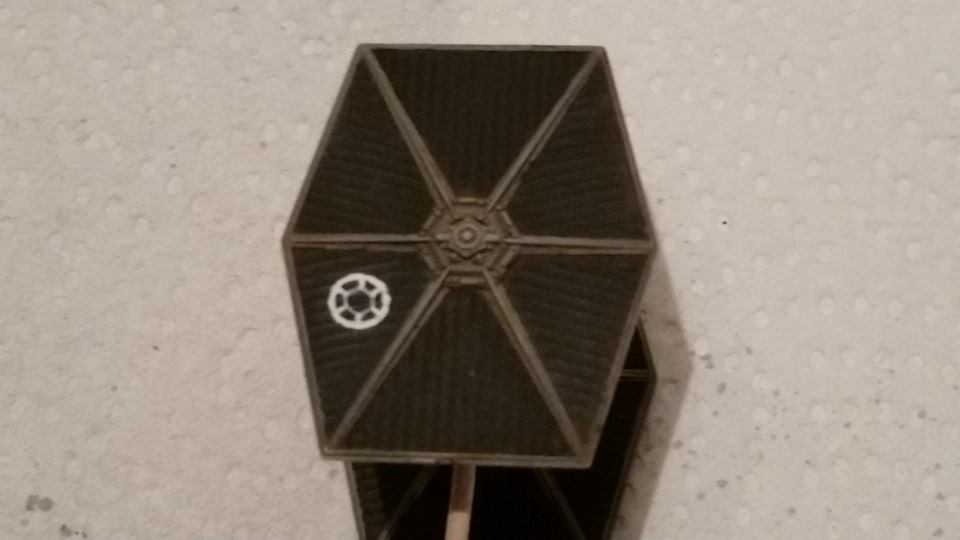
 |
| The box art looks very cool! |
Acquiring this model kit can be tricky. Officially, Bandai can only sell this in Japan. So if you want to buy this you need to turn to Ebay, Amazon or a so called proxy buying service. The original price is 2.592 Yen (about $23) but this might get up to near $40 for some online retailers.
To me, Bandai was best known for their Gundam kits. These rather large, detailed robot kits usually have loads of moving parts like arms, legs, torso's and head. With this in mind I expected a lot from this kit. I was not disappointed!
Inside the box are four plastic bags containing sprue's, decal- and sticker sheets. First impressions are really good! The detail on the model looks crisp and to the naked eye looks just like in the movies!
 |
| As you can see they got multiple colors on one sprue. White, red, transparent and transparent red. This package also included the sticker sheet. |
 |
| Hull parts, details and pilot parts. |
 |
| Engine- and gunparts. |
 |
| Wing parts. |
 |
| The decal sheet |
 |
| The base and stand of the model. It comes with 2 parts. One of them representing the 'thermal exhaust port' leading to the Deathstar's reactor core. |
The whole model is snap-fit so no glue is required. The tools Bandai recommends are clippers and a hobby knife, although I would add some small files and fine sanding paper to that list. No glue is required!
Do keep in mind though, this model is made for the Japanese market. This means that the instructions are also in Japanese. Luckily the pictures explain everything clearly, but you might want to double check some actions before cutting or forcing two parts together.
 |
| Clear steps to follow |
The model is an absolute dream to put together! I had loads of fun and it was an 'easy' build for me. I ended up having some trouble painting the model though. I did wash the model (something I rarely have to do with plastics) but the paint and primer kept rubbing off. Also masking tape from Tamiya, generally known to be one of the best masking tapes out there, pulled the primer and paint right off! That is when I decided to use the decals instead... And they have decals for everything!!!
 |
| Stickers for the little side panels in the cockpit |
The whole kit comes with tons of options! You can pose the X-Wing in a flying position or in a landed position. With the ton of extra bits (and some of your own) you would be able to make a diorama of it undergoing maintenance or something. It comes with one seated and one standing rebel pilot and with an R2 and R5 astromech droid.
 |
| Check out the cute little R5 droid! |
If you want to paint this kit, I suggest painting some parts before assembling the model. For example, if you'd like for the astromech unit to be removable (yes you can switch the two out if you don't glue them in) you should paint them before placing them into the hull. (or you can use the decals they provided. TINY DECALS!!) Same goes for the pilot and the cockpit.
 |
| Painted rebel pilot. |
 |
| Pilot placed inside the cockpit. |
For the metallics (cockpit, engines, mechanical parts on the wings) I used AK-Interactive's X-TREME Metal paint. Earlier tests have proven that this paint is supposed to be very durable. Still, I was able to peal it clean off when using masking tape. It might have something to do with the type of plastic, so handle with care!
The rest of the model was primed with Vallejo airbrush black and light grey primer. This usually gives me great result but the paint stayed very fragile! I applied several coats and let them dry for 24 hours before applying the next layer. It might have something to do with the type of plastic.
I then continued to paint the hull with Vallejo offwhite. I applied thin coats and tried to make the center of the panels more opaque and the edges (near the panel lines) more transparent, showing some of the grey primer underneath.
 |
| The hull painted white. |
After applying the white paint, I applied several thin layers of gloss varnish to protect the paint and prepare the model for the decals.
 |
| I loosely assembled the model . |
After applying and weathering the decals I proceeded with the details on the rest of the model. I did a pin wash to bring out the panel lines and details using brown enamel wash by AMMO and I cleaned up using a cotton swap.
I used black pigment powder, engine grime, engine oil and fuel stains from AMMO to weather the engines.
 |
| I used a sponge with rust colored pigments to create streaks |
 |
| Freehanded chips on the wing and engine. |
 |
| The finished result |
What are your thoughts about the kit? Do you like it enough to try and get one or do you prefer a different brand?
As always thank you for reading and don't lick your brushes!