
Sorry for my absence but I am still recovering from my broken radius so I haven't been building and painting much. Status on that is that the bone is healed but I still have to go to the physiotherapist every week because I still can't fully bend or extend my arm.
Okay enough of that. On to the subject you clicked on this link for.
For a project I'm working on I wanted a temple/dungeon kind of look. The model I'm working on is a Warhammer fantasy Khorne Skullreaper swinging a great sword of sorts. The original model is slightly tilting back while swinging his weapon, but when tilted forward it looks like he is leaping off something in full attack.
I quickly imagined the temple to be littered with skulls. Other then that it should look like cold, wet stone, the kind you would imagine in dungeons. I drew inspiration from a book I recently purchased for painting fantasy miniatures. It showed how to sculpt/build your own bases using milliput.
Lets begin!
The model comes on a 40x40mm base. It so happens that I had a 40x40x40mm plinth laying around from Sockelmacher. This pretty much is the perfect size!
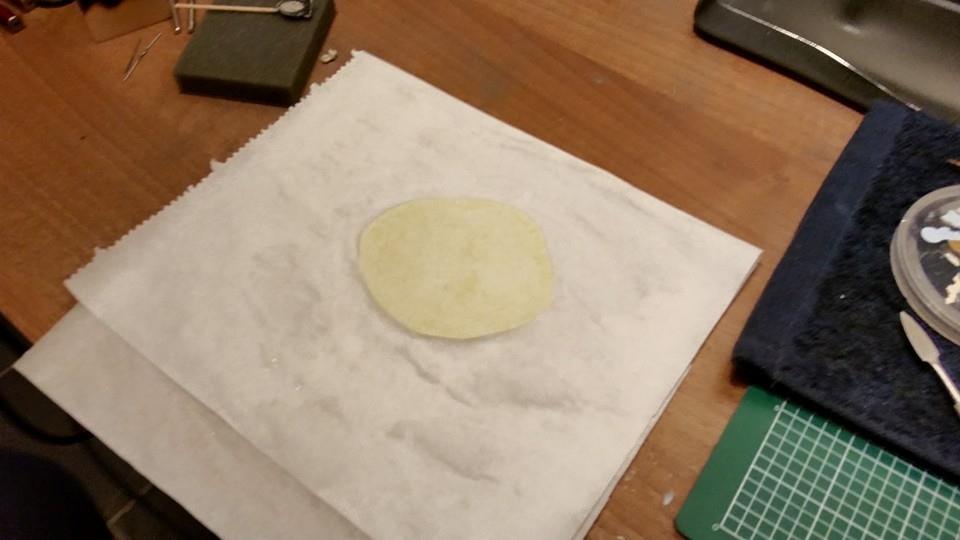
I began by mixing some milliput together. Once this was mixed well (no more streaks of different color in the ball of milliput) I rolled it out in greaseproof paper soaked in water to prevent it from sticking.
(in case you where wondering, the columns are PK-pro ceramic scenery bits)
I then tried out some possible base compositions to try out what would look best. I wanted a look similar to what you see in some catacombs where there are skulls everywhere. I tried to use the skulls for staircases but that just didn't look right in this scale.
 |
| Concept #1 |
 |
| Concept #2 |
So back to the simple granite steps! I tested what it would look like when instead of the skulls being used as part of the structure, they literately littered the place with skulls. This was much more pleasing to my eye but it still missed something.

I looked at some reference pictures online of dungeons, temples and catacombs. I finally found out what I was missing. Candles! Applying candles really helps changing it to a dark place, because if it isn't dark, why would you need candles, right? I looked up an tutorial on how to best make candles. I ended up with a tutorial by Massive Voodoo. Here Roman used BeesPutty to sculpt candles. I never really sculpted anything in my life since kindergarten.
 |
| My mother was sooooo happy with this portrait of her (not) |
Luckily I had a sample of BeesPutty laying around. (thank you Painting Buddha!)
BeesPutty is a polymer sculpting clay. You don't need to mix it and to cure it you have to bake it, so it stays soft for you to put your project away overnight. It feels like wax or something and its really comfortable to work with.
Back lets go on with the candles!
Following the tutorial I rolled out a thin sausage (or different sizes of thin sausages) and cut them in different sizes. Cutting them the right way usually clusters them together but you can also put them together in whatever order you want.
I added a little bit of putty on a wooden block because that makes it less of a hassle to make the candles stick to the surface without glue. After baking you can simply cut it from its base and glue it in position.
 |
| Finger for scale |

After placing them on a base used a cocktail pricker to make small holes to simulate the hole the flame would have made in the wax.
When I had several bundles of candles I baked them in my kitchen oven for 20 minutes at 120°C (or 250°F) and let them cool when they are done. Once cooled I cut them from their base and glued them to my display base. I tried to place them on logical places.
 |
| Filled the emptiness to make the steps, and thus the base, more whole |
When this was done it was time for primer. I primed the base using a zenithal highlighting technique. For primer I used the Vallejo polyurethane surface primer. I first sprayed the whole base black, then sprayed a grey color from directly above to create some nice shading. I then sprayed some details with white primer to make them stick out more.

So once the primer was dry it was time for some paints! I used a same technique as use in THIS tutorial and wetted the base with water. I then continued by applying some drops of paint directly to the base. The colors I chose are cold grey, sandy brown, sand yellow and olive green. I then took a wet brush and blended the colors all over the base.


Once dry I applied some light dust colored dry pigments from AMMO to make the base look aged and dusty. I painted up the details like the skulls and candles (you should paint these however you want) and applied some washes to certain crevices to accentuate recesses and shadows.
 |
| The finished result! |
And there you have it! A (in my opinion) perfect temple/dungeon/catacomb display base! Keep in mind that for larger bases you should also think about adding chains, hinges, wooden struts, ropes and whatever as extra details. Because the model I'm gonna place on this base is pretty large compared to the base I didn't.
Thank you all for reading and see you next time!


